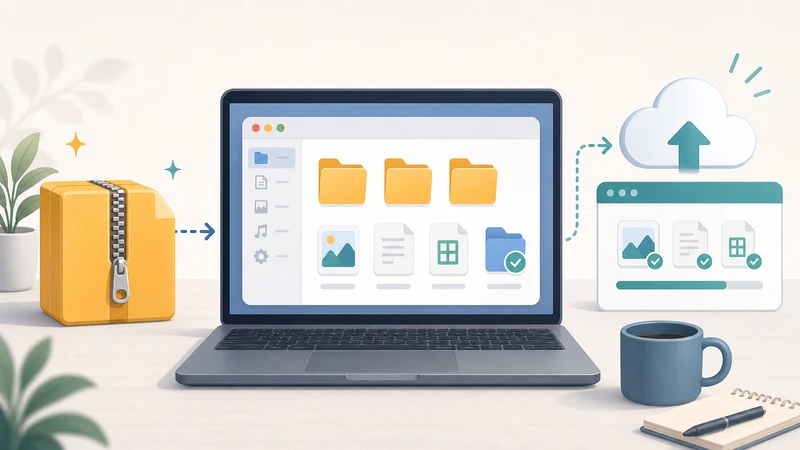
Website image work does not always happen at a desk. Sometimes you are updating a product page from your phone, fixing a blog image while traveling, or trying to publish a quick landing-page change between meetings.
That is where mobile image optimization matters. The goal is not perfect design-lab control. The goal is to make images lighter, usable, and web-ready without creating a long editing detour.
If you only have your phone available, you can still make practical improvements that help page speed and publishing reliability.
Why phone-based image work is common now
Small teams, founders, freelancers, and content managers often handle publishing from wherever they happen to be. That means asset cleanup needs to work on mobile too.
The most common problems are familiar:
- files are larger than the page really needs
- images upload slowly on mobile connections
- the format is inconvenient for the destination
- the asset looks fine but is heavier than necessary
What image optimization should solve on mobile
On a phone, the best workflow is usually the one that removes obvious inefficiency quickly.
That means focusing on:
- smaller file sizes
- reasonable visual quality
- simple browser access
- fewer repeated uploads and retries
When to compress, when to convert
Compress when the format is already fine
If the destination already accepts the current format, compression is often enough.
Convert when compatibility is the problem
If the asset is in a format the receiving system or teammate struggles with, converting first may be the better move.
That is why the pairing of Compress Image and Format Converter is useful. One solves weight. The other solves format friction.
A practical mobile workflow
- Decide whether the issue is file size, format, or both.
- Compress first if the image format already fits the job.
- Convert if the destination needs something else.
- Upload the lighter output instead of forcing the original file through.
This keeps the workflow simple and avoids unnecessary editing loops.
Where mobile optimization helps most
- blog images
- product photos
- support screenshots
- marketing graphics
- content updates that need to go live quickly
Those are all cases where “good and lighter” usually beats “perfect but delayed.”
What people overcomplicate
Trying to perfect every image on a phone
For many publishing tasks, you only need the file to be lighter and usable. You do not need a full creative suite workflow every time.
Ignoring the final destination
The right output for a storefront, help article, and email attachment may not be the same.
Optimizing after the upload fails
It is usually faster to reduce the asset before you push it into a mobile workflow that is already likely to be bandwidth-limited.
How Filemazing fits a phone-first workflow
Filemazing works well here because it keeps the process in the browser. If the image is simply too heavy, use Compress Image. If it also needs a different format, move to Format Converter.
That lets you handle the actual bottleneck instead of doing random extra steps.
Frequently asked questions
Can I optimize website images properly from a phone?
Yes. For many everyday publishing tasks, a browser-based compression or conversion step is enough.
Should I always convert images on mobile?
No. If the format already works, compression may be the only change you need.
What matters most for quick website updates?
Smaller practical file sizes, reliable uploads, and outputs that the destination accepts cleanly.
What if I also need privacy cleanup?
Use Metadata Scrubber before publishing if the file contains hidden metadata you do not want to share.
Final takeaway
You do not need a desktop setup to make sensible image improvements for the web. If the real problem is that the asset is too heavy or awkward for the destination, a focused mobile-friendly browser workflow can solve it quickly.
When speed matters and you only have your phone, start with Compress Image, then convert formats only when the workflow truly requires it.