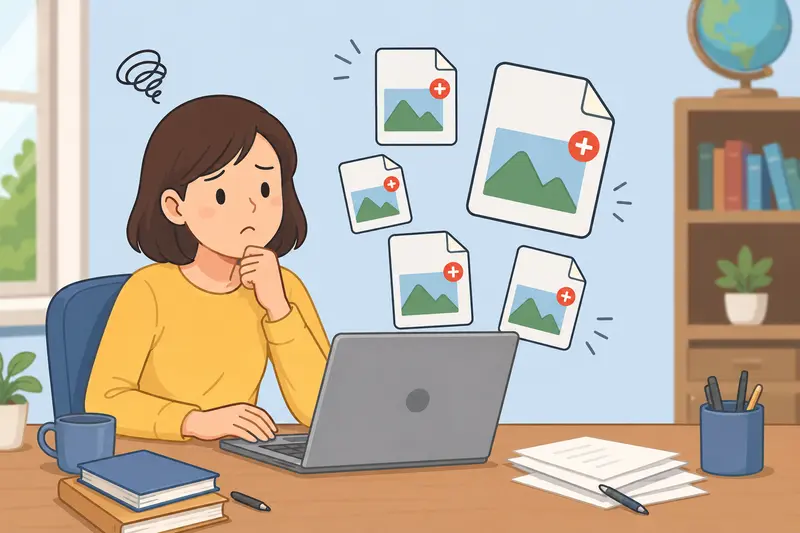
Teachers deal with image files more often than they probably signed up for.
Slides full of classroom photos. Scanned worksheets. Screenshots for remote lessons. Student project images uploaded in every format imaginable. Then comes the familiar problem: files that are too large for email, learning platforms, or shared drives.
Thats usually when people start searching for ways to reduce image file size without wrecking quality in the process.
The good news is that Windows users dont need heavy desktop software anymore for most compression tasks. A browser-based workflow can handle the job faster than installing another app youll forget about next semester.
What Actually Causes Huge Image Files?
Not all large images are high quality. Sometimes theyre just inefficient.
A few common reasons:
- Phones save oversized photos by default
- PNG files can become unnecessarily heavy for simple visuals
- Scanned classroom materials often use inefficient export settings
- Images copied into PowerPoint or Word may retain original resolution
- Metadata from cameras and phones adds extra hidden data
One practical improvement before sharing classroom photos is using a metadata scrubbing tool to remove hidden location and device information from images. Teachers sharing student-related materials often overlook this step.
Compression helps by reducing unnecessary data while preserving visual clarity where possible.
The tradeoff? Smaller files usually mean at least some quality adjustment. The trick is finding a balanced compression level instead of crushing images into blurry postage stamps from 2007.
A Practical Windows Workflow That Doesnt Feel Tedious
For everyday school workflows, this process tends to work well:
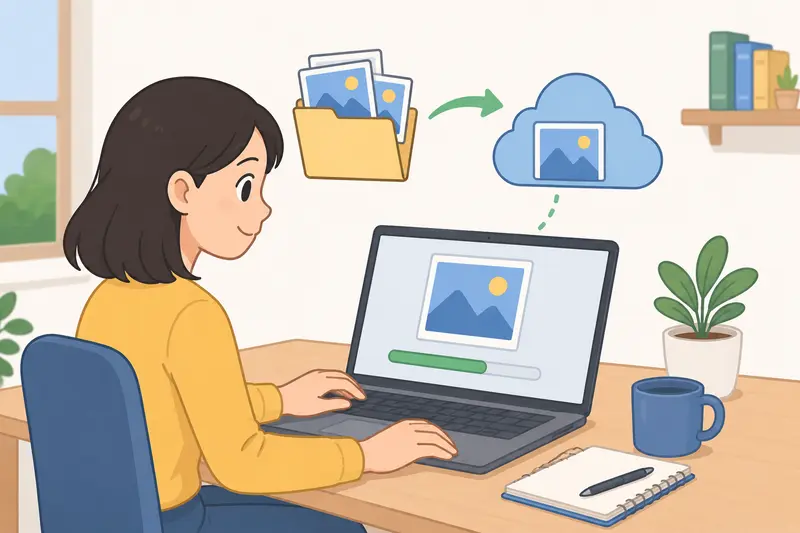
- Export or collect your images into one folder
- Convert incompatible formats if needed
- Compress images in batches
- Upload or share the smaller versions
Thats where a browser-based tool like Filemazing https://filemazing.com/compress-image fits nicely. Since it runs in the browser, theres no installation process, and it works well for mixed device environments common in schools.
The workflow is especially convenient when dealing with:
- classroom photo uploads
- LMS attachment limits
- district email size restrictions
- scanned handouts
- PowerPoint assets
The platform also supports imports from cloud providers like Google Drive and Dropbox, which matters when files are scattered across shared teaching folders.
How the Compression Process Works
The actual compression workflow is fairly straightforward, but a few small decisions make a noticeable difference.
Start With the Right Format
If your images came from iPhones or newer devices, you may encounter HEIC files. Some school systems and older Windows apps still struggle with those.
In that case, converting images first can simplify everything. A multi-format conversion workflow like the image format converter helps when switching between JPG, PNG, WEBP, HEIC, or AVIF formats.
General rule:
- JPG works best for photographs
- PNG is better for diagrams, screenshots, and graphics with text
- WEBP offers strong compression but may not work everywhere
For teacher workflows, compatibility usually matters more than chasing the absolute smallest file size.
Upload and Compress
After uploading images into Filemazings compression tool, the system processes them as temporary jobs rather than long-term stored files.
That matters more than people think.
School-related documents and classroom materials often contain student information, whiteboard photos, or internal content. Using a platform that automatically cleans temporary files after processing is preferable to leaving them sitting around indefinitely.
The compression itself is quick because processing happens through queued jobs in the browser rather than requiring local rendering software.
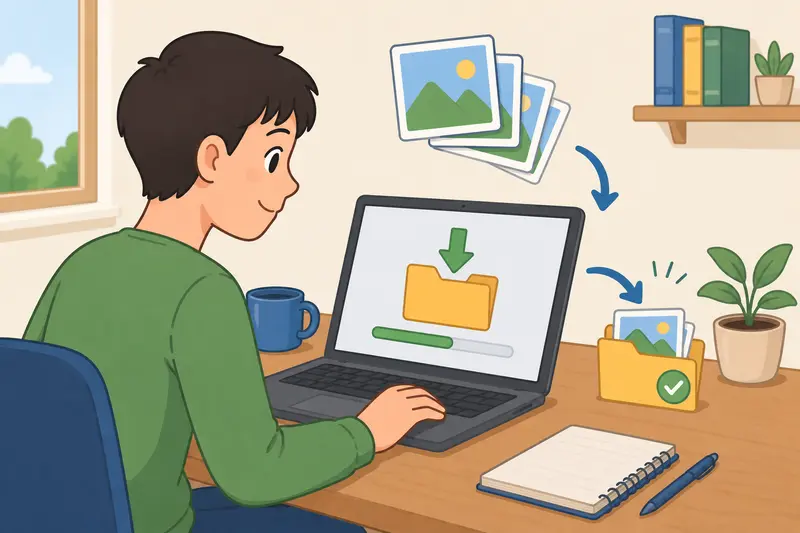
Download and Share
Once processed, the compressed versions are ready for download individually or in batches.
If youre emailing sensitive files afterward, it can also help to encrypt compressed image archives before sharing, especially for administrative documents or student records.
Real-World Test: Compressing Classroom Photos
To see how well this type of workflow performs, I tested a typical teacher-style scenario:
- 18 classroom activity photos
- Mixed JPG and PNG formats
- Total folder size: 142MB
- Goal: make everything email-friendly without obvious quality loss
After compression:
- final folder size dropped to 31MB
- individual images still looked clean in slides and printed handouts
- upload time to a learning platform improved noticeably
The biggest reduction came from oversized PNG screenshots exported from PowerPoint.
Interestingly, aggressively compressing handwritten worksheet scans created more visible artifacts than compressing standard photos. Text-heavy images usually need gentler compression settings.
Thats one of those details people only notice after ruining a worksheet preview once or twice.
One Mistake That Makes Compressed Images Look Terrible
Heres the issue many users run into:
They compress the same image repeatedly.
Every additional JPG compression pass removes more visual data. By the third or fourth export, text edges soften, diagrams blur, and classroom screenshots become muddy.
A better workflow:
- keep one untouched original folder
- compress copies only
- avoid re-editing already compressed JPGs
If an image needs multiple revisions, PNG or WEBP may preserve quality better during editing cycles.
This matters a lot for teachers creating reusable materials across semesters.
Why Browser-Based Compression Works Well for Schools
Desktop image software still has its place, especially for graphic design teams. But many educational workflows benefit more from lightweight browser tools.
A few reasons:
Easier Device Flexibility
Teachers move constantly between:
- classroom PCs
- home laptops
- shared office machines
- Chromebooks
Browser-based tools remove installation headaches and admin restrictions.
Faster Batch Handling
Compressing one image manually is manageable.
Compressing 80 parent-night photos before midnight? Different story.
Batch processing becomes much more valuable once file counts increase.
Predictable Usage Costs
One unusual but practical aspect of Filemazing is the transparent token model.
Instead of vague subscription tiers, operations use tokens based on workload factors like:
- file size
- file count
- media duration (for audio tools)
- page count (for PDFs)
For image compression specifically, token usage uses a base cost plus file-related processing metrics. That predictability is useful for schools or small teams managing recurring workloads without surprise charges.
There are also free daily tokens available for lighter usage.
Compression Without Losing Quality: Whats Realistic?
The phrase image compression without losing quality gets thrown around a lot online.
In reality, there are two different things people mean:
Lossless Compression
- preserves all image data
- smaller size reductions
- useful for graphics or diagrams
Lossy Compression
- removes some visual information
- much smaller files
- usually acceptable for photos
Most teachers emailing lesson materials or uploading slides will be perfectly fine with moderate lossy compression.
The key is stopping before visible readability suffers.
For classroom use:
- photos tolerate stronger compression
- screenshots with text need caution
- scanned worksheets should prioritize readability over aggressive size reduction
Where This Workflow Saves the Most Time
This approach works especially well when:
- school portals reject large uploads
- colleagues need email-friendly attachments
- cloud storage space gets messy
- presentation decks become bloated
- scanned student work needs archiving
And because the processing happens online, it avoids slowing older Windows machines that already sound like theyre preparing for atmospheric reentry during Zoom calls.
Common Questions
Can I compress photos for email without making them blurry?
Usually yes, if compression settings stay moderate. Photos often shrink significantly before quality loss becomes noticeable. Text-heavy screenshots and scanned worksheets are more sensitive.
Does Filemazing store uploaded files permanently?
No. Files are treated as temporary processing artifacts and cleaned automatically after short retention periods rather than being stored long term.
Which image format is best for smaller file sizes?
JPG is typically best for photos. PNG works better for diagrams and screenshots. WEBP can reduce size even further, though compatibility varies across systems and platforms.
Is batch compression available?
Yes. Batch handling is one of the more useful aspects for larger workloads like classroom photo collections, slide assets, or scanned teaching materials.
Can compressed files still be printed?
Generally yes, provided compression isnt pushed too aggressively. For printed worksheets or classroom posters, moderate compression usually keeps output sharp enough for normal use.
What if Windows cant open certain image formats?
Thats common with HEIC and newer formats. Using a format conversion workflow for images before compression often solves compatibility problems.
Final Thoughts
For teachers, image compression is less about technical optimization and more about removing friction from everyday tasks.
Smaller files upload faster. Emails stop bouncing. Shared folders become manageable again.
A browser-based workflow like Filemazing image compression https://filemazing.com/compress-image works well because it stays lightweight while still handling practical needs like batch processing, temporary file cleanup, format compatibility, and predictable usage costs.
Most importantly, it reduces the annoying part of file management without turning compression into a full project of its own.