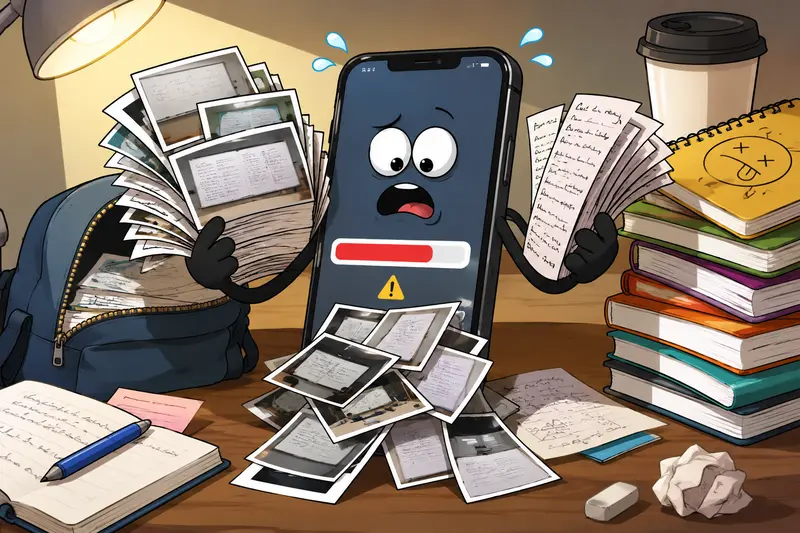
Taking photos of lecture notes, assignment sheets, whiteboards, and scanned textbook pages quickly fills up storage on an iPhone. The real problem usually appears later when uploading files to school portals, attaching homework to email, or sharing project images in group chats.
Large JPG files are inconvenient, but lowering quality too aggressively makes text blurry and diagrams unreadable.
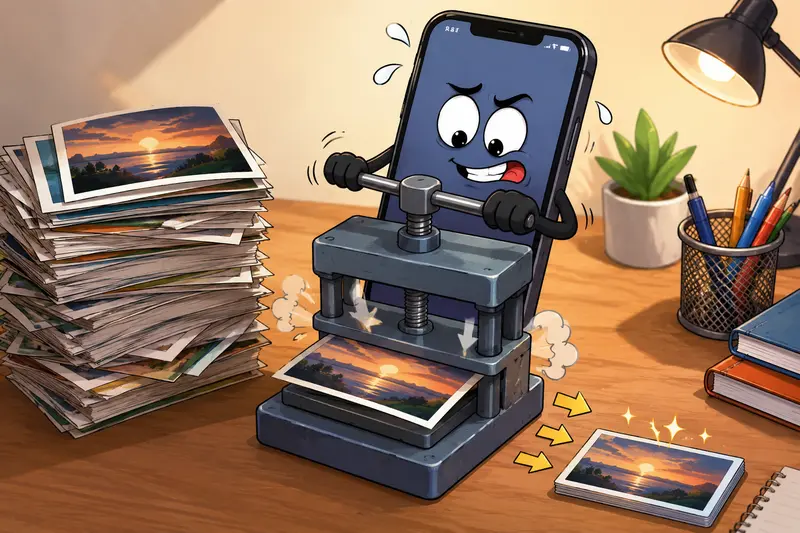
The good news is that you can compress JPG without losing quality directly in your browser, without installing desktop software or moving files between devices.
The Main Thing to Know
If your goal is to compress JPG without losing quality, the safest approach is:
- reduce unnecessary file weight
- preserve readable detail
- avoid repeated re-saving
- use a browser-based compressor that maintains smart quality balancing
A practical option for this is Filemazings image compression workflow:
https://filemazing.com/compress-image
Because it runs in the browser, it works well on iPhone Safari without requiring extra apps or complicated exports.
For students juggling lecture photos, scanned pages, and assignment uploads, convenience matters more than it sounds. Especially at 11:48 PM before a submission deadline.
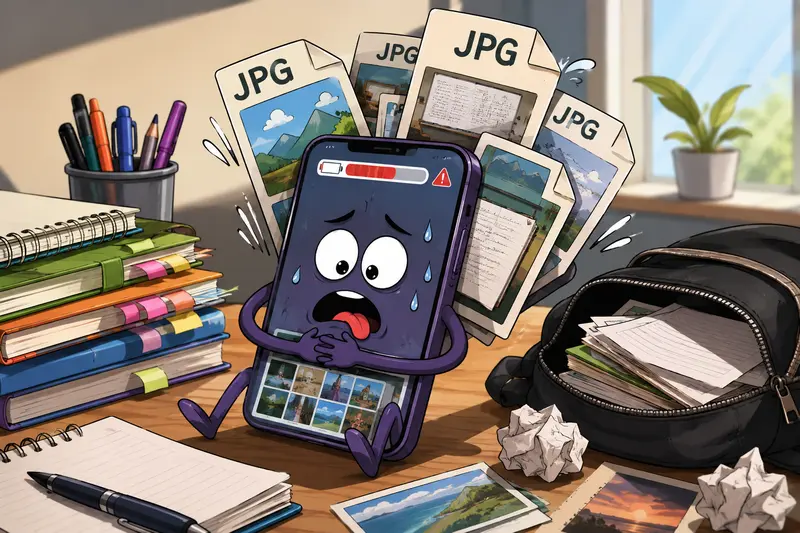
Why Large JPG Files Become a Problem on iPhone
Modern iPhones capture surprisingly large images even in JPG format. A simple classroom photo can easily reach 48MB depending on lighting and detail.
That creates friction when:
- uploading homework to Moodle or Canvas
- sending attachments through email
- sharing project drafts in messaging apps
- saving storage space before exams or trips
- submitting scanned handwritten assignments
Many students end up screenshotting screenshots just to reduce size, which usually destroys clarity.
A proper high quality image compression workflow avoids that tradeoff.
A Practical Walkthrough That Actually Works
Heres a workflow that works reliably on iPhone without making notes unreadable.
1. Open the Compressor in Safari
Go to:
https://filemazing.com/compress-image
The tool works directly in-browser, so theres no desktop software installation involved.
2. Upload Your JPG Images
You can upload:
- lecture note photos
- scanned homework pages
- presentation images
- research screenshots
- classroom whiteboard captures
Filemazing also supports importing files from cloud services like Google Drive and Dropbox, which is useful when your files are already synced there.
3. Run Compression
The compressor reduces unnecessary image weight while preserving visible detail.
For text-heavy student documents, this matters a lot. Tiny compression artifacts can make equations and handwritten notes harder to read.
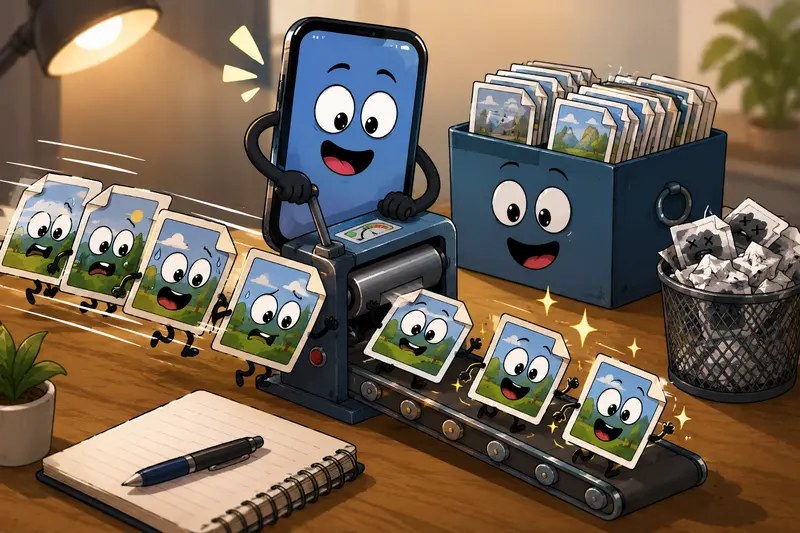
4. Download the Smaller Files
Once processed, download the compressed versions directly to your iPhone.
If you later need to switch formats, the platform also includes a useful image format conversion tool for JPG, PNG, WEBP, HEIC, and AVIF files.
What Happened During Real-World Testing
To see how effective the workflow was, a test batch included:
- 18 JPG lecture photos
- total upload size: 96MB
- mixed lighting conditions
- handwritten notes and printed slides
- several scanned textbook pages
After compression:
- total size dropped to roughly 37MB
- text readability stayed intact
- zoomed equations remained clear
- upload speeds improved noticeably on mobile data
The biggest gains appeared on bright classroom photos with excessive metadata and oversized dimensions.
Scanned pages with tiny handwriting compressed less aggressively, which is actually desirable. Over-compressing those files can introduce visible smearing around text edges.
That balance is what separates a decent tool from the everything becomes blurry kind.
One Important Tradeoff Most People Ignore
Theres always a balance between:
- smaller file size
- image sharpness
- processing speed
If compression is pushed too far, small text starts degrading first.
For students, preserving readability is usually more important than squeezing every possible kilobyte out of the file.
A good rule:
- moderate compression ideal for assignments and notes
- aggressive compression acceptable for casual sharing only
PNG files are another consideration. They preserve detail well but often remain much larger than JPG for photo-based content.
If youre unsure which format makes sense, converting between formats first can sometimes improve results. Filemazings multi-format image converter is useful for testing JPG vs WEBP size differences before compression.
Where Batch Compression Helps the Most
Single-image compression is fine occasionally.
But student workflows are usually messy collections of files:
- 30 screenshots from research
- 15 textbook captures
- multiple assignment scans
- group project assets
- presentation visuals
Thats where a batch image optimizer becomes far more practical.
Instead of compressing one image at a time, you can process multiple files together and keep your workflow moving.
This also reduces repeated exports and duplicate image generations that slowly eat into iPhone storage.
A Few Quality Preservation Tips That Make a Difference
These small adjustments noticeably improve final image quality after compression.
Avoid Repeated Editing
Every time a JPG is re-saved, additional compression can occur.
If possible:
- compress the original image once
- avoid screenshotting compressed versions
- keep a clean backup for important assignments
Crop Before Compressing
Removing unnecessary borders or desk background areas often reduces file size more effectively than aggressive compression.
Use Good Lighting
Cleaner images compress better.
Dark classroom photos with visual noise usually produce larger files and weaker results.
Compress Before Uploading to Messaging Apps
Apps like Discord, Messenger, and some email clients may apply their own compression afterward.
Doing your own high quality image compression first gives you more control over readability.
Privacy Matters More Than People Think
Student documents often contain:
- names
- grades
- IDs
- handwritten notes
- private project material
Browser-based tools are convenient, but privacy handling still matters.
Filemazing treats uploaded files as temporary processing artifacts rather than long-term cloud storage. Files are cleaned automatically after short retention periods instead of being permanently stored.
For especially sensitive coursework or research files, you can also use the platforms file encryption tool for protected sharing after compression.
That extra step is surprisingly useful for thesis drafts and shared project archives.
When JPG Compression Is the Wrong Choice
Compression helps most with:
- photo-heavy content
- lecture snapshots
- scanned paper notes
- presentation images
But there are exceptions.
You may want to avoid strong JPG compression for:
- architectural diagrams
- pixel-perfect design work
- screenshots with tiny UI text
- medical or scientific imagery
- infographic-heavy coursework
In those cases, PNG or WEBP may preserve detail more effectively.
Some file formats cooperate nicely.
Others behave like they personally resent deadlines.
Useful Related Workflow for PDFs
A common student workflow is:
- convert PDF pages into images
- compress the generated JPGs
- submit optimized files online
If you regularly work with scanned study packets or lecture PDFs, Filemazing also includes a PDF to image conversion workflow for exporting pages into JPG, PNG, or WEBP formats before compression.
That becomes useful when school portals reject large PDFs but allow image uploads.
Final Thoughts
The easiest way to compress JPG without losing quality on iPhone is to keep the workflow simple:
- compress directly in the browser
- preserve readable detail
- process batches when possible
- avoid repeated image exports
- maintain privacy for school documents
For students managing assignments, notes, screenshots, and scans every week, a lightweight browser-based tool is usually faster than installing editing apps or transferring files to a desktop.
And when the deadline clock is already ticking, fewer steps matter.